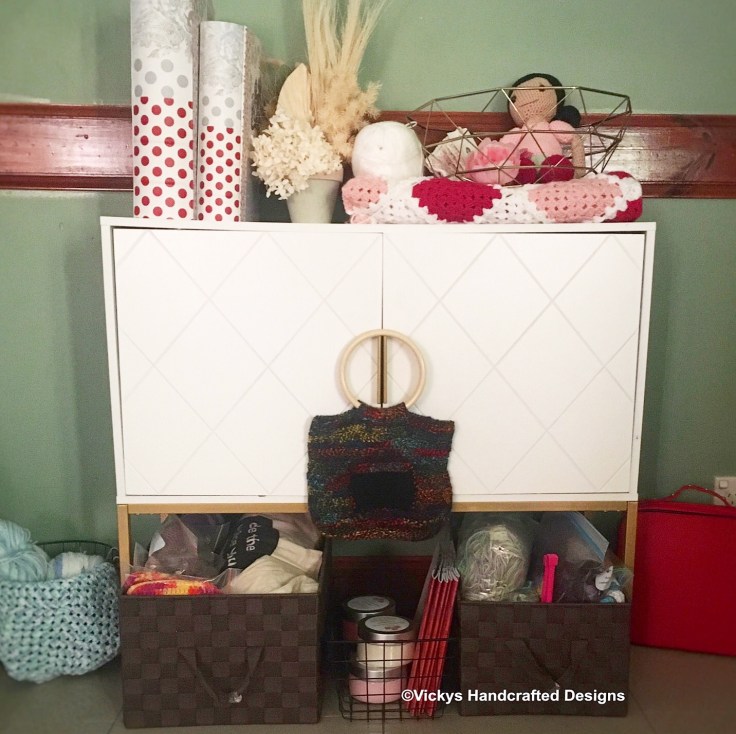
A few months ago, I actually cannot remember when! I started a gorgeous crochet sunflower blanket designed by Amy Solovay. I had searched the internet to find a sunflower blanket pattern for my daughter. Amy’s pattern was perfect. It was simplistic yet detailed. The 3D effect gave the square an additional element of intrigue. I had many questions of “how did you make the square like that”.
Though many patterns came close, they lacked the design style that Amy’s pattern had. They had too many steps or to complicated to achieve the flower look. The beauty about Amy’s pattern is that you could crochet as many or as little squares that you wanted. You could make a blanket, a pillow, a handbag or even place mats or coasters. The pattern is centered on making one square so that you can adapt it to what ever you want. I will be making some place mats and coasters as well to go along with this housewarming gift for my daughter.
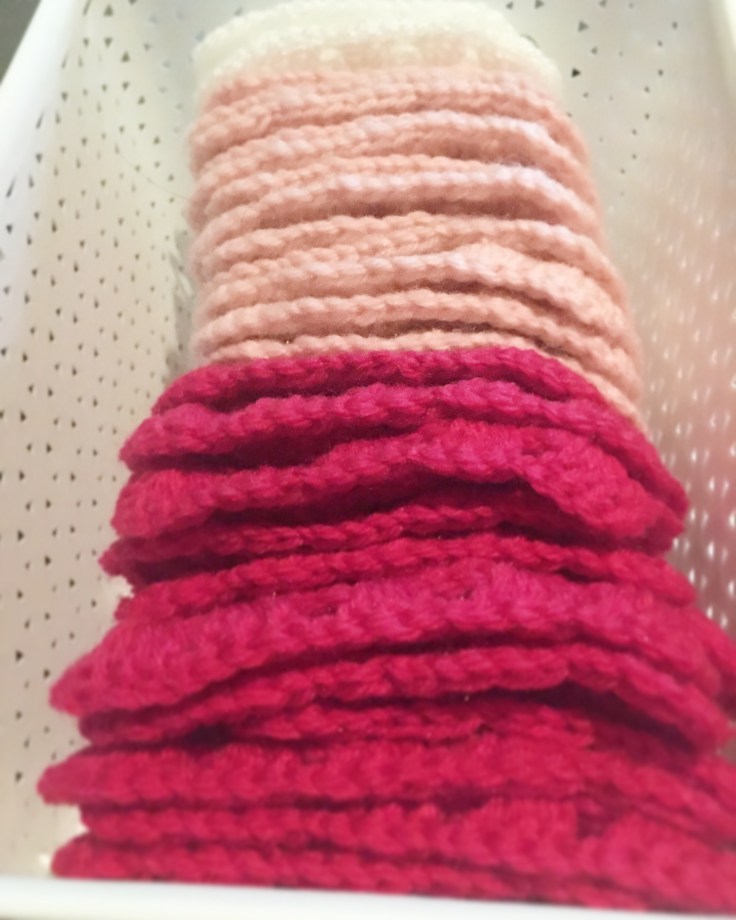
And now finally I am at the stage or joining the squares and watching the blanket take shape! I can’t wait to finish this blanket, its going to be so beautiful. A field of sunflowers set in a beautiful crisp white cotton. I used Four seasons Brighton for this blanket as I found it was the perfect combination of softness and sturdy enough to hold the stitches.
I will put the link to Amy’s pattern below as I have been asked many times for the pattern. Thank you for following along on this journey with me. Catch up with you all next time.
Vicky


Pattern designed by: Amy Solovay available at: http://knittingandcrochet.net